Dish Repair as of
16-March 2014
Home| |
|
|
|
|
||||||||
|
|
|
|
||||||||
|
|
|
|


Descriptions:
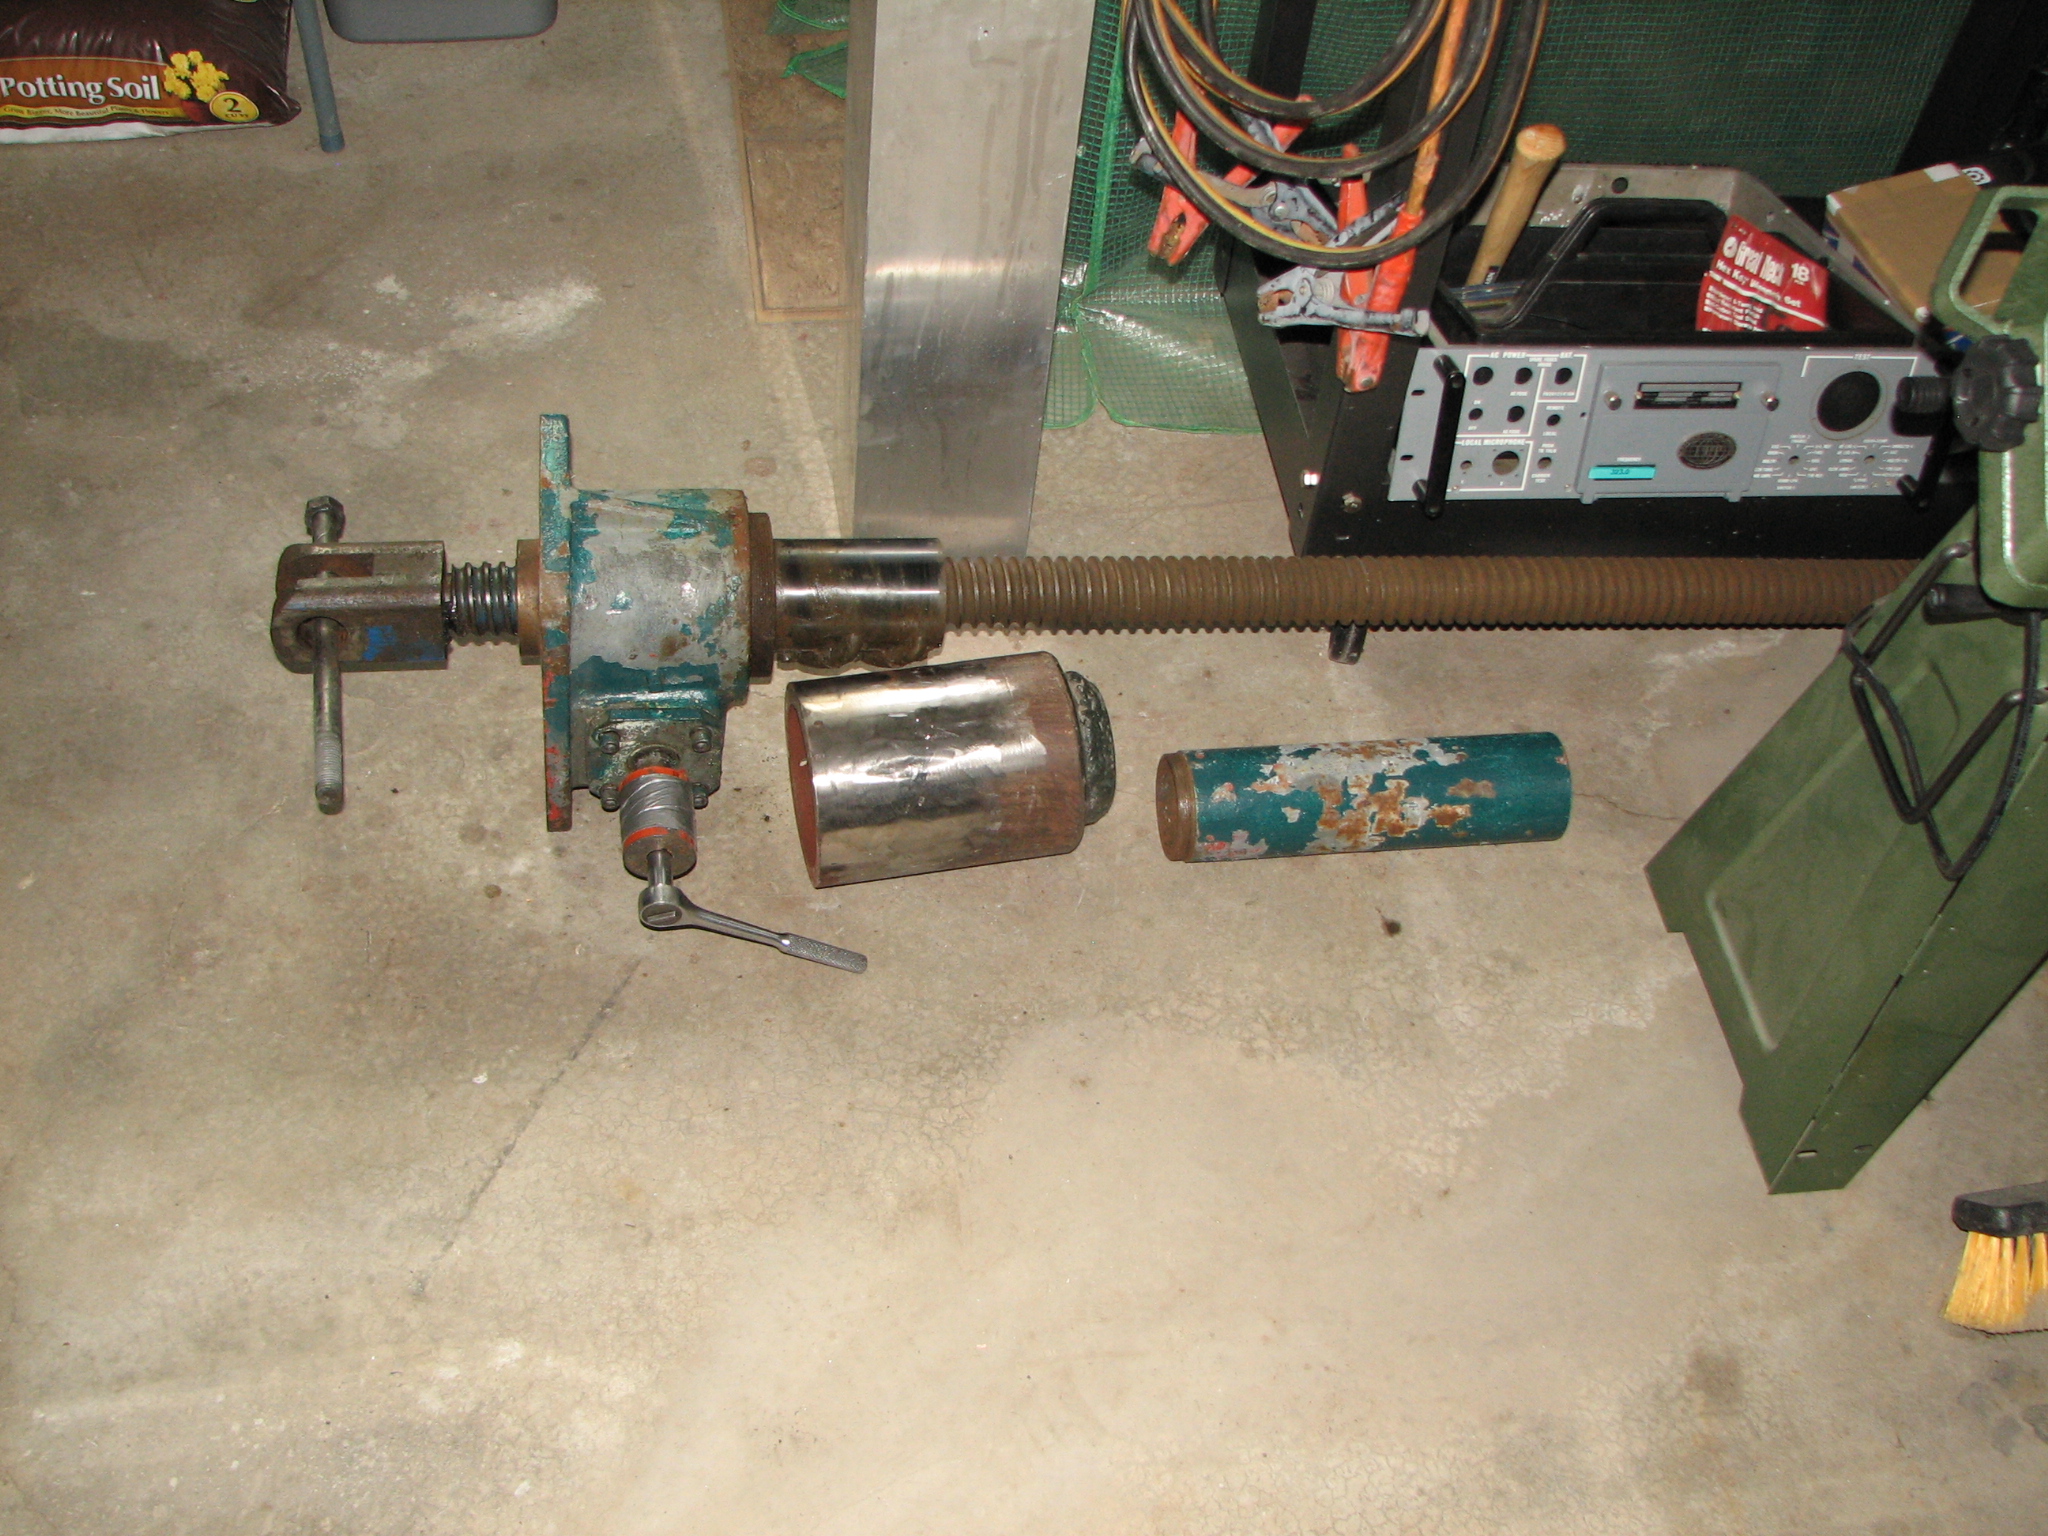
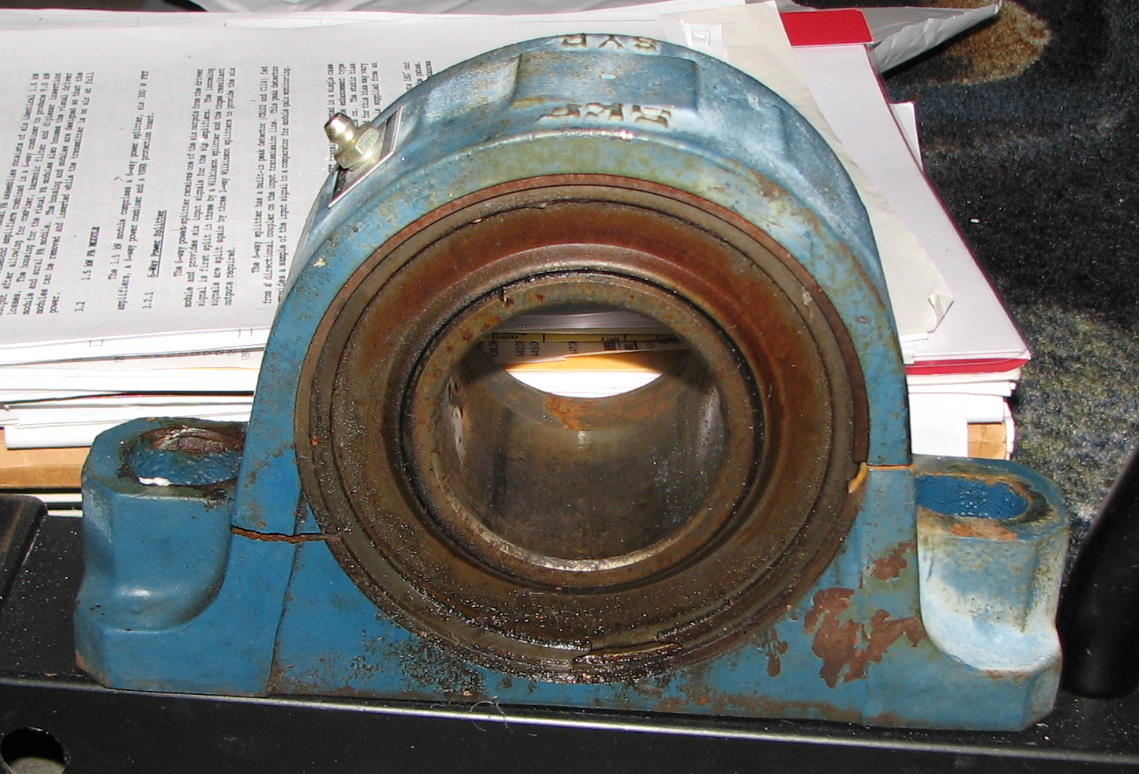
Actuator.jpg -
This shows the actuator after removal from the dish. The end is bent and needs to be
straightened. The “Housing Extension” was
cracked in half in the accident. This
piece is molded from cast iron, designed for 20 ton capacity.
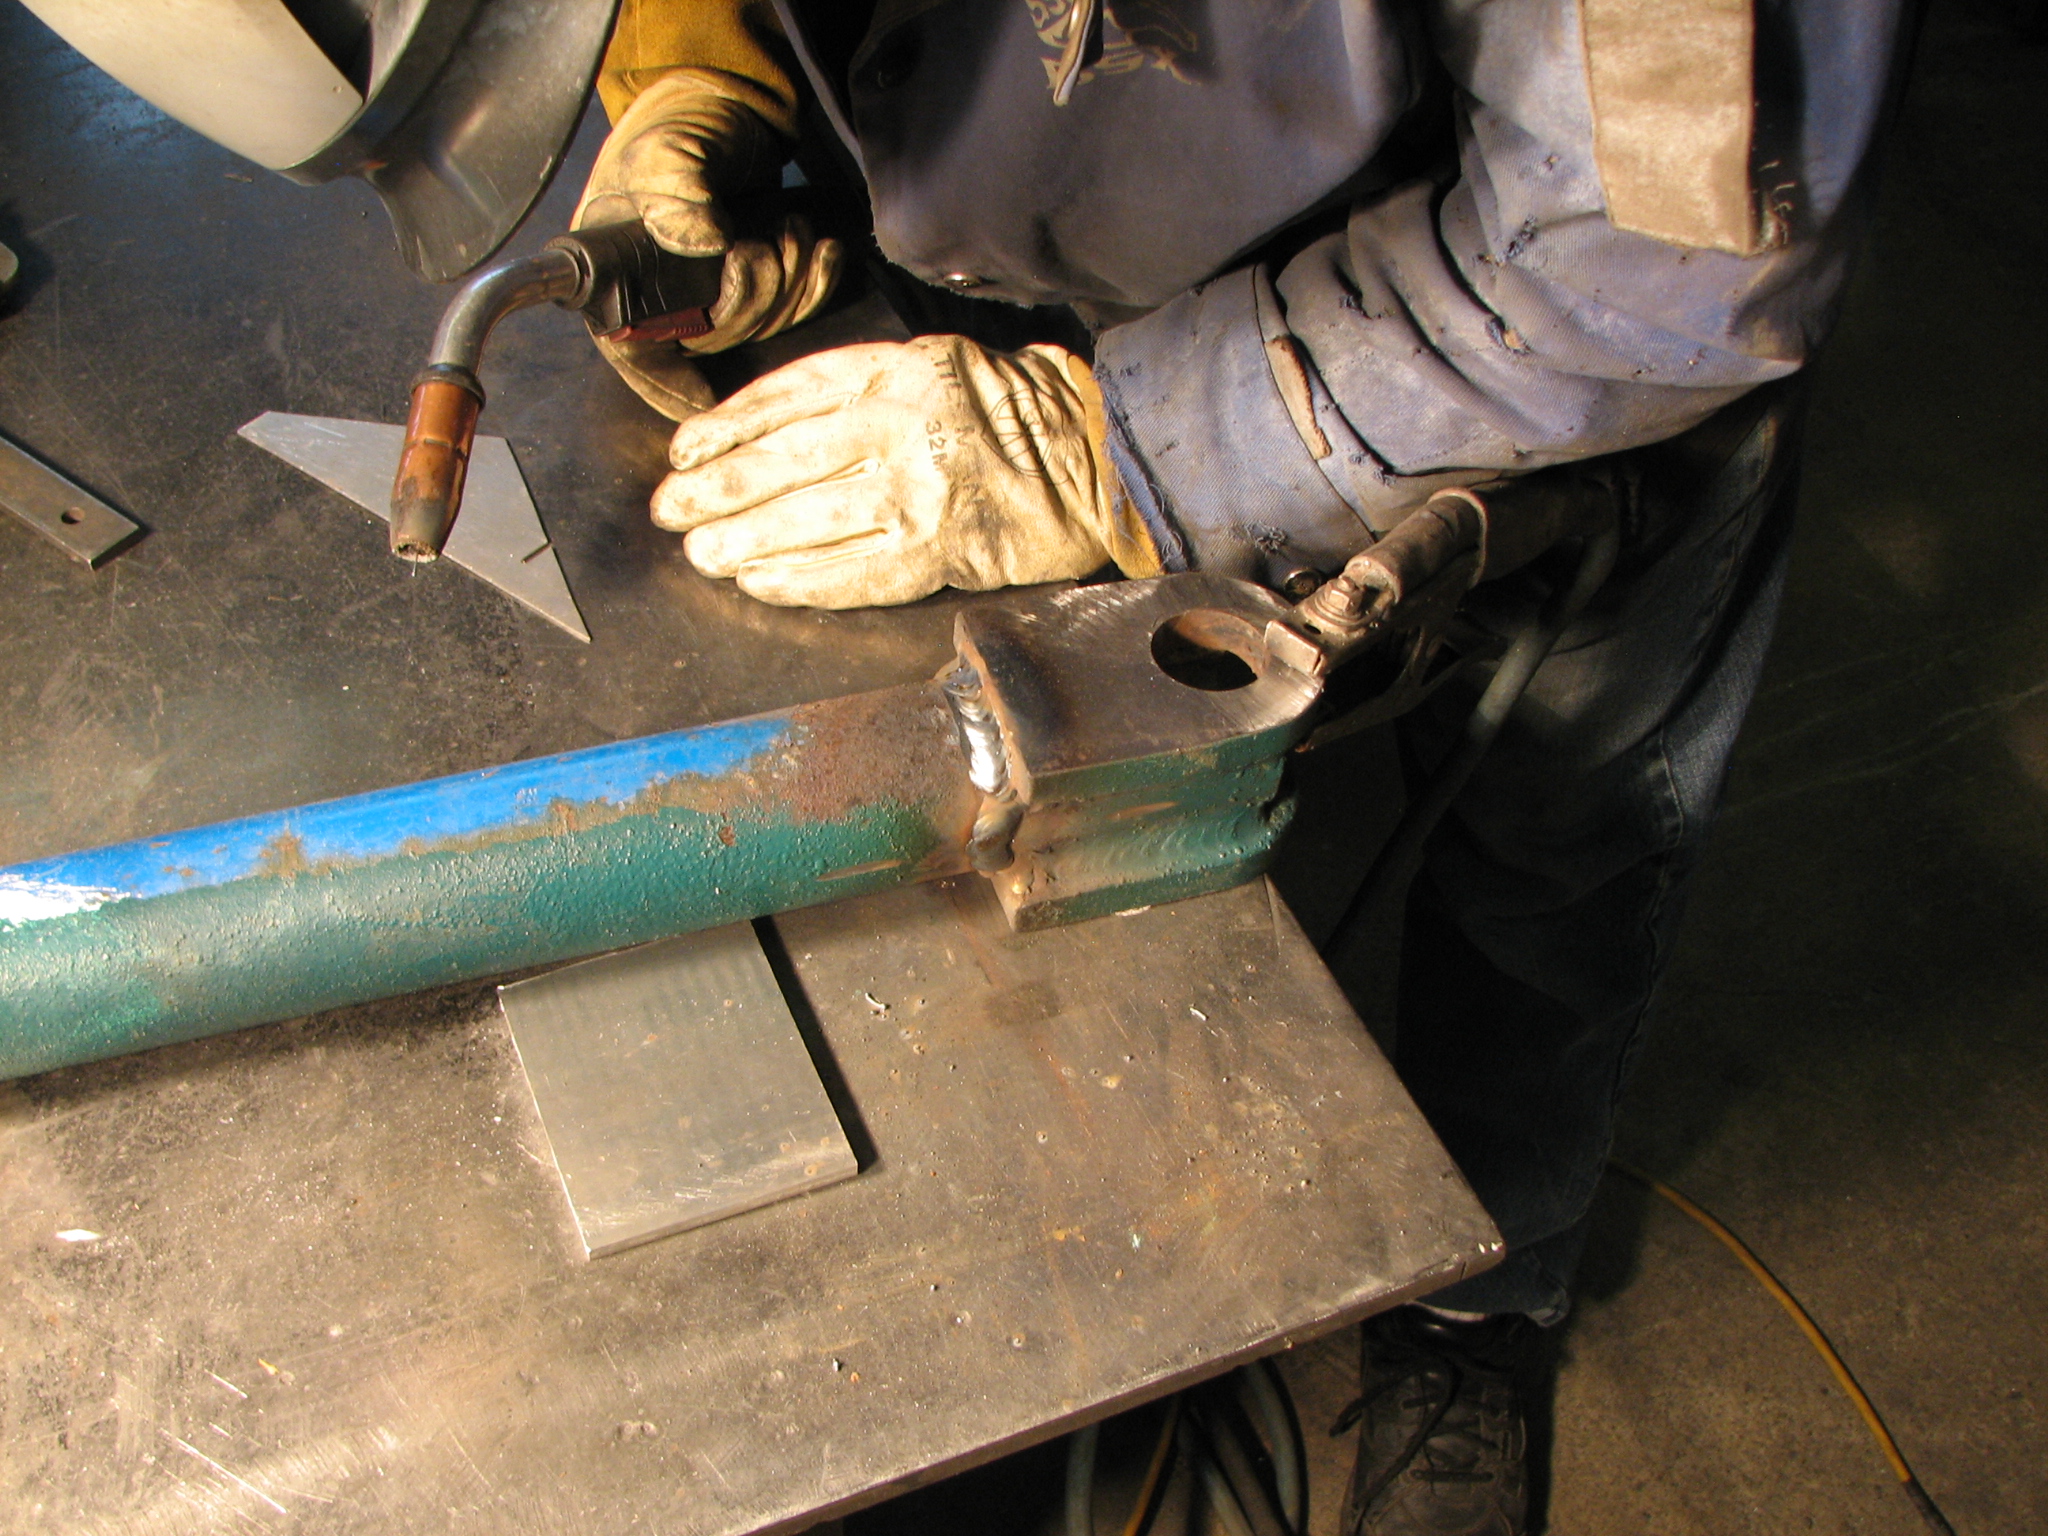
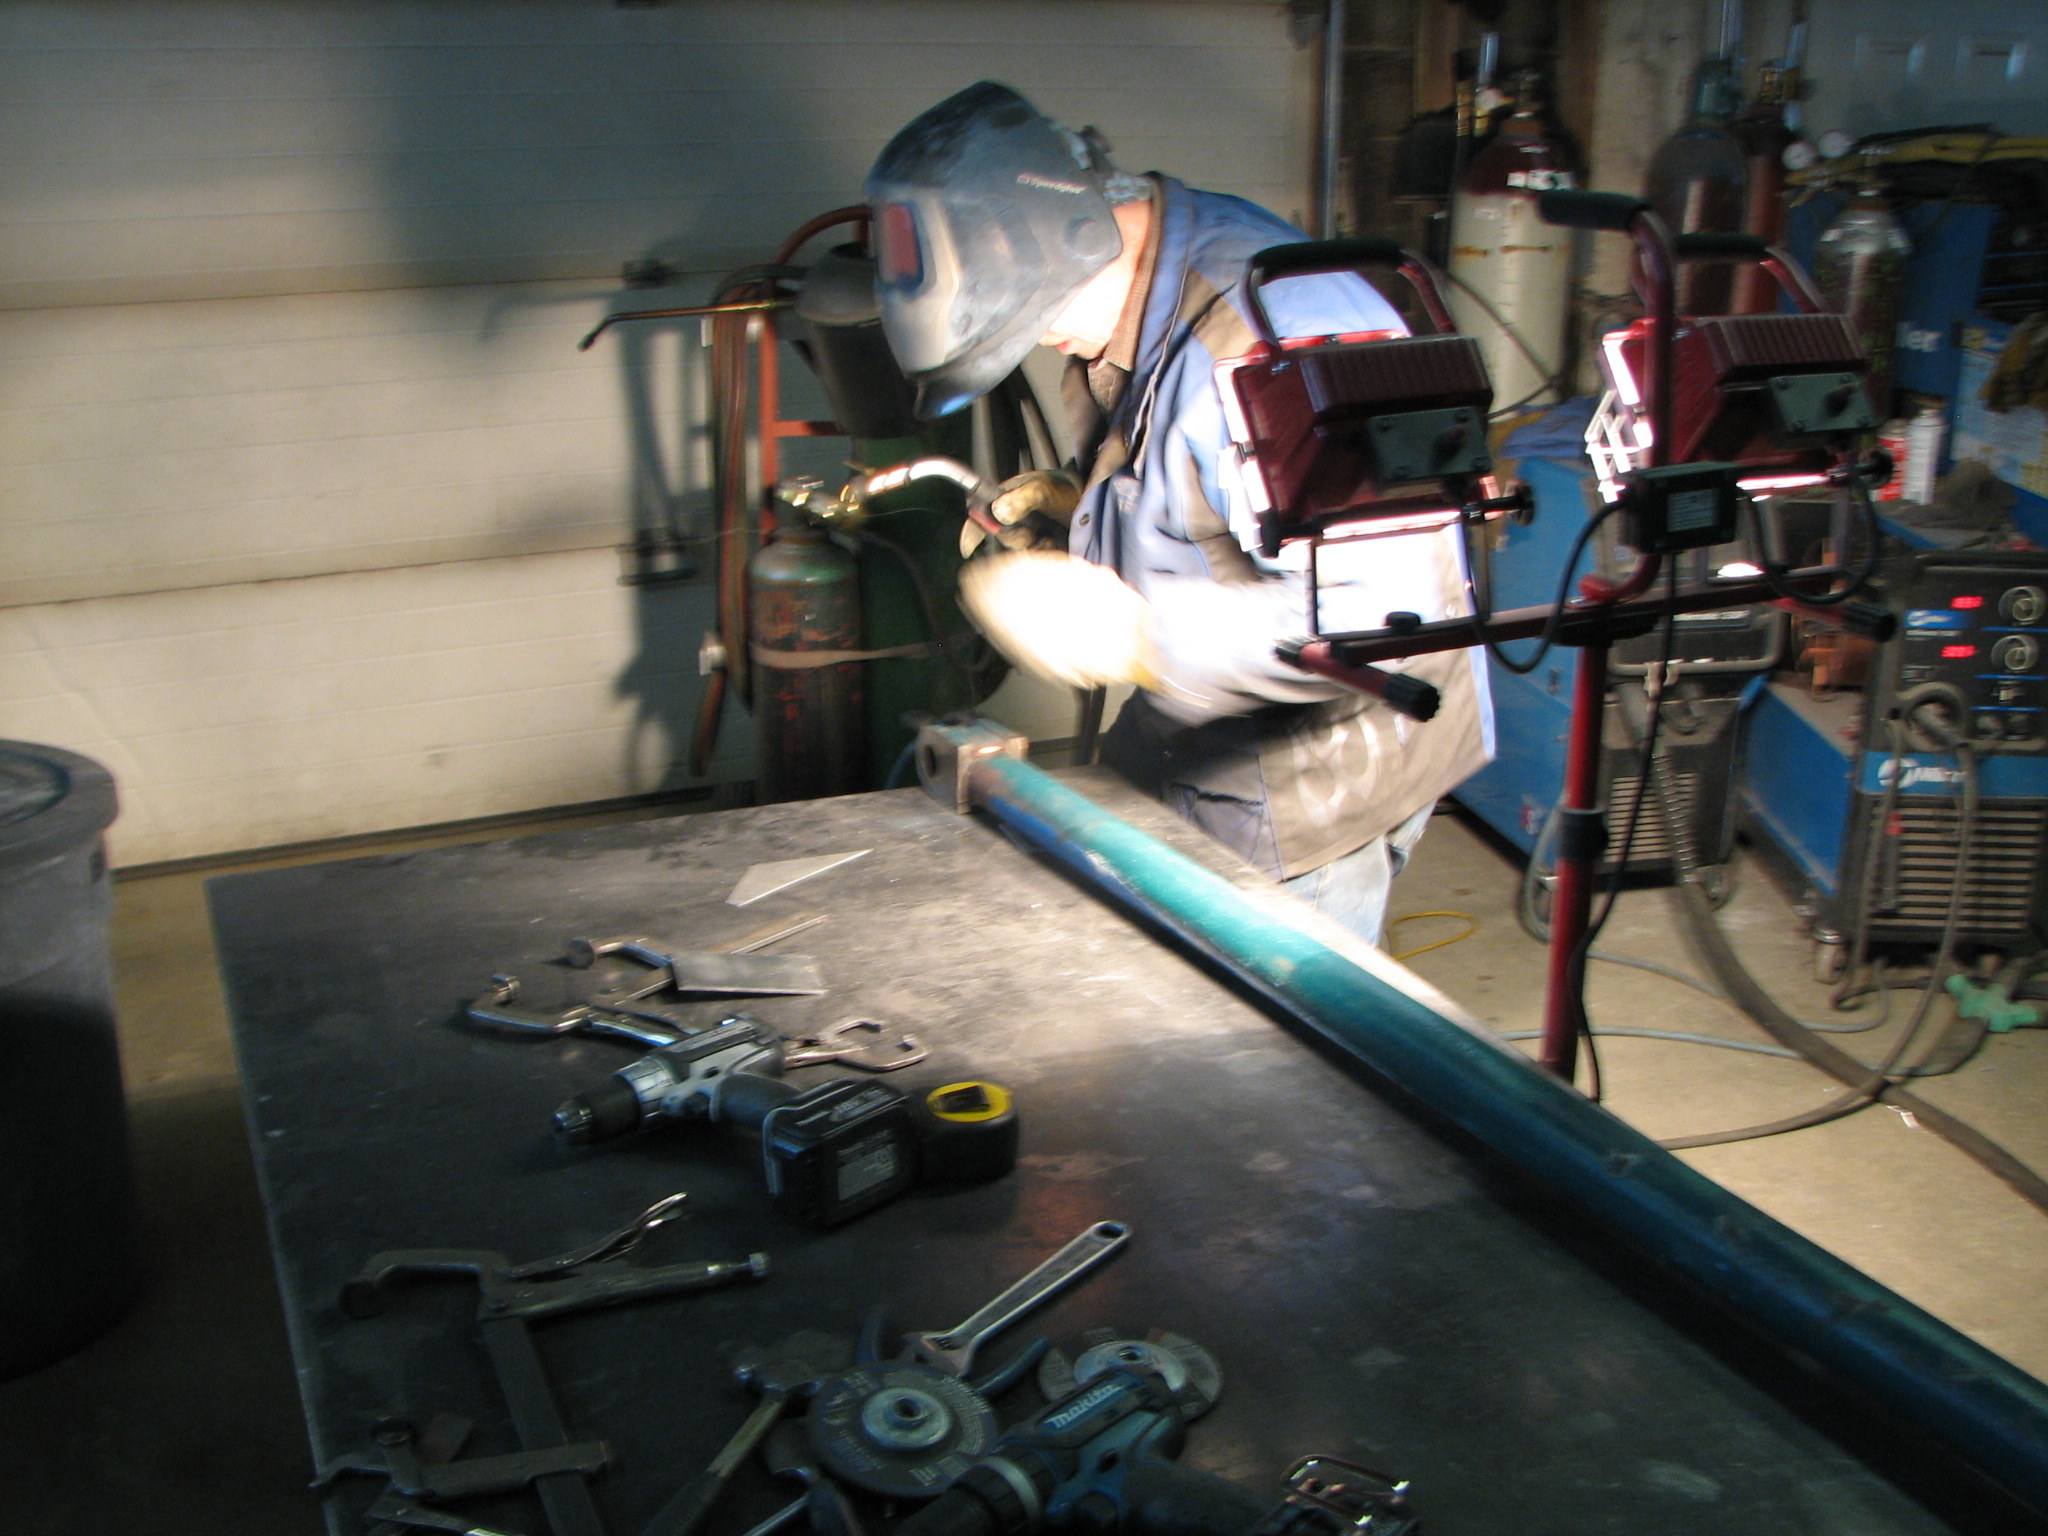
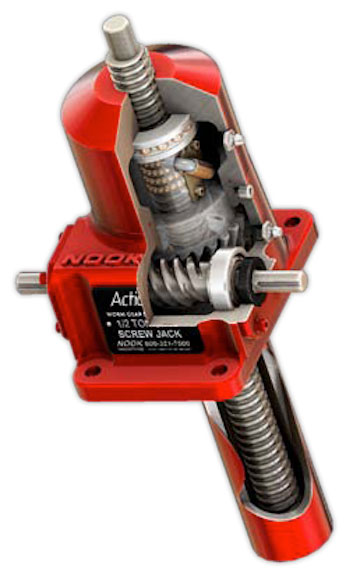
BSJ-1.jpg – I had the housing welded back together. Quite a process, grinding
the broken edges all the way down to nothing but a thin line, enough to
accurately line it up for welding.
Once lined up and clamped, the whole thing is preheated. Then arc welded with many passes until the
area is completely filled with weld. And
then ground smooth. Assembled, the
actuator weighs over 200 pounds, and the total length of the 2.25” diameter
ACME screw is 9 feet. This shows how the
balls ‘flow’ in the Ball-Screw-Jack type of actuator: bsj-typ.jpg And this is a spec
sheet for my actual unit: 20-BSJ-U_8-1.pdf
BSJcover2.jpg – This covers the screw to keep it from the weather. This got bent also. It is very heavy, and I don’t see the need
for such a heavy piece, so I cut the threaded end off and plan to use ABS pipe
for the new cover.
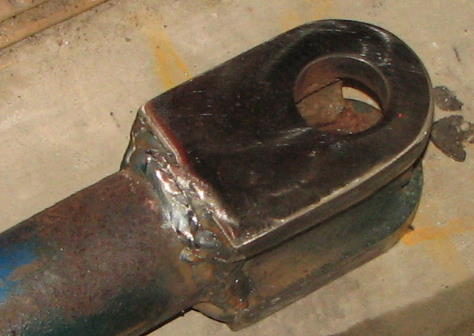
Bsj-link.jpg – The bent end of the screw could actually be cut off,
since it is not used. When damaged, the
screw as all the way in, so just the excess was bent. This photo also shows the repaired connecting
link (2.5” OD, schedule 120 steel).
link1.JPG -
After grinding, before welding.
link1and b.JPG – During welding. Link2.JPG - Welded
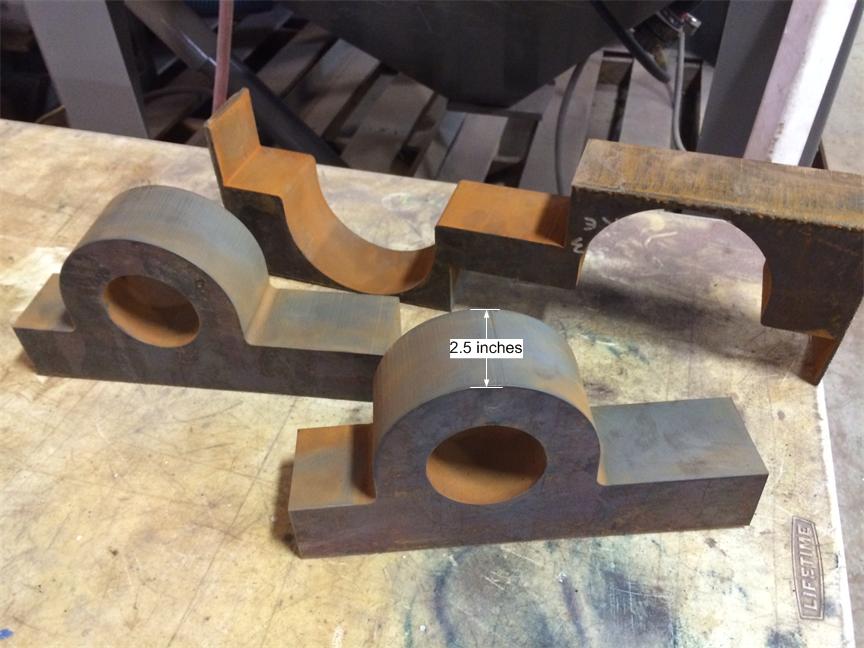
pillow-new.jpg – The new
pillow block of my new design, just after being water jet cut from the 2.5” 100
pound chunk of solid steel.
pillow-old.jpg – I always
considered these to be the weakest link in my dish system, and they proved me
right. Off the shelf new ones would have
cost about the same price I am paying for the new ones, (probably 10 to 20
times stronger---or more) - $942.00
truss.JPG – This was the only truss member that had some damage. It was directly in line of the weight of the
dish when it hit the ground. The end was
broken off.
truss2.jpg –
Expertly welded, ready to be put back.
I’m
hoping to have the new pillow blocks finished soon, and my plan is to have the
crane come over sometime next month. We
just had 2 feet of snow, so everything is quite covered. Hopefully it will melt soon. I want to have the crane here before the
ground thaws. Below is a drawing I am
using to determine the size of the crane required, and to determine the
sequence of events. boom2a.pdf
I
need to rebuild the elevation drive motor which was destroyed, and also my
elevation position sensor. Then, lots of new cables to install. I would like to be QRV in May.
73, Mike, KL6M